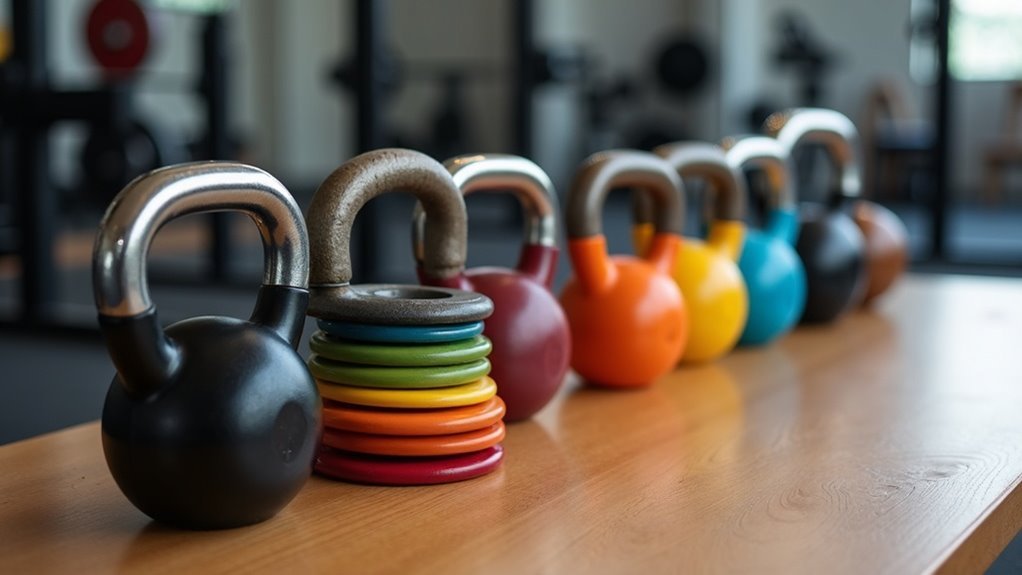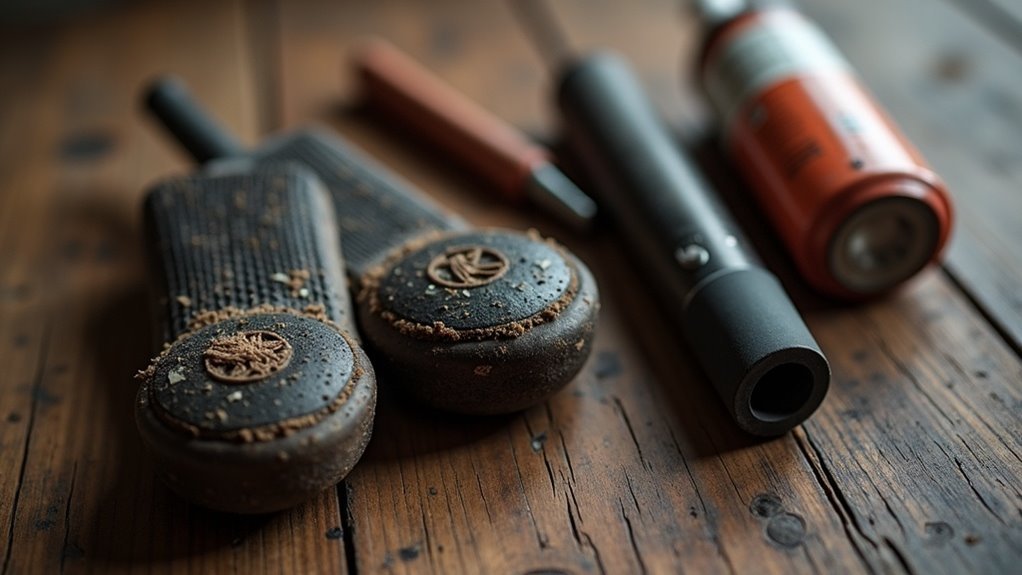
To replace your rower handle grips and enhance your home gym experience, start by carefully using a draw knife to remove the old grips. Next, clean the handle thoroughly with sandpaper to ensure proper adhesion. Apply SC4000 glue as a primer to the handle, then align and firmly attach your new rubber grips, ensuring a secure fit for optimal performance. For a professional finish, wrap plastic packaging tape around the handle for 12 hours to allow the adhesive to fully cure. To further strengthen the grip, use electrical tape and contact adhesive at the joint for added stability. Follow these detailed steps to ensure your rower is ready for effective and comfortable workouts at home.
Key Takeaways
- Use a draw knife to carefully remove old grips from your rowing machine handle. Clean the handle with sandpaper to ensure it’s smooth and ready for new grips.
- Mix SC4000 glue and hardener, then apply a primer to the handle to improve adhesion for the new rubber grips.
- Align and wrap the new grips around the handle, making sure they fit snugly. Trim any excess rubber for a clean and polished look.
- To secure the grip joint, use two strips of electrical tape and apply contact adhesive for extra stability. Allow the glue to cure fully before using the equipment.
- If you’re opting for timber veneer grips, perform a dry fit first. Apply epoxy resin and let the adhesive set completely before testing the handle’s stability to ensure a safe and effective workout.
Tools and Materials Needed
To effectively replace the handle grips on your rower, having the right tools and materials is essential for maintaining your home gym equipment.
Begin with a draw knife or heavy knife to remove the old grips. Sandpaper will help you clean the handle for a smooth surface. For applying adhesive, a glue brush is necessary to ensure an even coat.
You’ll need SC4000 glue and hardener for a strong, long-lasting bond, along with new rubber grips as replacements to enhance your rowing experience. Digital kitchen scales will help you mix the SC4000 glue accurately for optimal adhesion.
Utilize a straight edge to keep everything aligned during installation. Lastly, black insulating tape can be used to protect the handle from any glue stains as you work, ensuring a tidy and safe environment.
Keeping your equipment in top shape is vital for achieving your fitness goals at home!
Grip Removal and Handle Preparation
Begin by carefully removing the old handle grips from your rower, an essential step in maintaining your home gym equipment. Use a draw knife or sharp-bladed knife to scrape off the grip from the carbon handle, aiming to complete this task in under three minutes for efficiency.
Once the old grips are removed, clean the handle thoroughly with sandpaper and thinners to eliminate any residue, ensuring a smooth surface for the new grip. Maintain a clean workspace by utilizing packing tape to secure any loose items and prevent contamination.
Finally, mix SC4000 glue and hardener according to the manufacturer’s ratio, and prime the handle with the glue to enhance adhesion before applying the new grip. This process not only keeps your equipment in top shape but also supports your commitment to staying healthy and active at home.
Applying New Grips
Carefully apply the new grips to your rower handles to enhance your home workout experience. Ensure a secure fit for optimal performance by following these steps.
Start by applying SC4000 glue to both the primed handle and the rubber grip, allowing it to become tacky. Position the grip against a straight edge for precise alignment, then wrap it around the handle, making sure to overlap the joint for stability. Trim any excess rubber with a Stanley knife for a polished look.
Apply SC4000 glue to both surfaces, align the grip, wrap securely, and trim excess for a clean finish.
Next, use two strips of electrical tape around the joint, leaving a 2-3mm gap, and add contact adhesive within the tape lines for extra hold.
Finally, wrap plastic packaging tape around the handle, sticky side out, and let the glue cure for 12 hours to ensure maximum durability as you work towards your fitness goals at home.
Securing the Joint
To secure the joint effectively for your home gym equipment, start by applying two strips of electrical tape on either side of the grip, leaving a 2-3mm gap between them. This step will help create a solid foundation for your workout gear.
Next, use contact adhesive within the taped area to enhance the grip’s stability, ensuring that your equipment can withstand intense workouts.
Finally, wrap plastic packaging tape around the entire handle, making sure the sticky side faces out to maintain pressure while the glue cures.
This simple maintenance will help keep your home gym equipment in top shape, supporting your commitment to staying healthy and fit at home.
Tape Application Techniques
Securing the joint of your rower handle grips is essential for ensuring stability and preventing movement during your home workouts. Use these effective tape application techniques to achieve a reliable grip:
| Step | Action |
|---|---|
| 1. Tape Strips | Apply two strips of electrical tape with a 2-3mm gap. |
| 2. Contact Adhesive | Add small amounts along the joint within the taped lines for better adhesion. |
| 3. Plastic Packaging Tape | Firmly wrap around, sticky side out, for additional grip. |
| 4. Tight Security | Ensure there are no gaps in the tape to maintain full stability during use. |
| 5. Drying Time | Allow the tape to set for 12 hours before removing for a clean finish. |
Following these steps not only enhances the stability of your rower but also contributes to a safer and more effective home workout experience. Stay fit and healthy with reliable equipment!
Adhesive Joint Reinforcement
While ensuring a secure connection between the rower handle grips and the handles may seem straightforward, utilizing adhesive joint reinforcement techniques is essential for optimal performance in your home gym setup.
Start by applying two strips of electrical tape on either side of the joint, leaving a 2-3mm gap for a snug fit. Next, use small amounts of contact adhesive within the tape lines to enhance the bond.
After that, wrap plastic packaging tape around the handle, sticky side out, to maintain consistent pressure while the glue cures. Allow the adhesive to cure for at least 12 hours before carefully removing the tape.
Finally, check the integrity of the grip to ensure it’s secure and prevent any slippage during your workouts. Staying healthy and fit at home is about attention to detail, so take the time to ensure your equipment is in top shape!
Replacing Timber Veneer Grip
To replace the timber veneer grip on your home gym equipment, you’ll need specific materials, including epoxy resin and black insulating tape.
Begin by following a step-by-step application process that ensures a smooth and secure fit.
This method will help you achieve a durable grip, enhancing your workout experience and supporting your fitness goals at home.
Materials Required for Replacement
When replacing a timber veneer grip on your home gym rowing handle, you’ll need a few essential materials to ensure a successful installation.
Start by having a curled-up veneer grip on hand, along with epoxy resin and black insulation tape. Use a Stanley knife to carefully remove the old grip and sand the handle down to the carbon fiber for a clean surface.
Before applying the new veneer, perform a dry fit to check for overlaps, and plane the edges if necessary.
Finally, apply black insulation tape to prevent glue stains during the epoxy application, ensuring a neat and safe installation that enhances your home workout experience.
Step-by-Step Application Process
Before you dive into upgrading your home gym equipment with a new timber veneer grip on your rowing handle, make sure you’ve removed the old grip and sanded the surface down to the carbon fiber.
Use a draw knife to ensure a smooth, even finish. Next, perform a dry fit of the new veneer cover, checking for any overlap—adjust with a plane if necessary.
To prevent glue stains during the application, apply black insulating tape along the edges of the handle. Mix the epoxy resin to a pourable consistency, and apply it evenly on both the handle and the inside of the veneer.
Secure the grip firmly and allow it to cure under pressure for at least 12 hours. This upgrade will enhance your workout experience and help you stay committed to your fitness goals at home.
Curing Process
The curing process is crucial for establishing a robust bond between the adhesive and your rowing grips, ensuring a safe and effective workout at home.
To achieve this, maintain pressurized tension for 12 hours, securing the grip with tape on either side to prevent any shifting. During this time, it’s important to keep your workspace clean to avoid any contamination that could compromise adhesion.
Once the curing time has passed, carefully remove the tape and inspect the grip’s integrity. Make sure it’s firmly attached and free from gaps that could affect stability during your rowing sessions.
A thorough inspection guarantees both safety and performance, allowing you to maximize your home gym experience.